Editing Triggers
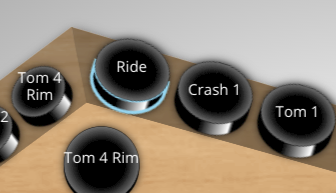
To edit a trigger, first select it by clicking on it with the mouse. Selected triggers are indicated with a blue border.
When a trigger is selected, the trigger edit pane at the right of the screen becomes active. This edit pane is where you make any changes to the selected trigger.
Making Trigger Edits
Once you've selected a trigger to edit, use the controls within the trigger edit pane to effect your changes.
The trigger editing pane is split into 5 different tabs:
Editing Multiple Triggers At Once
You are not limited to editing a single trigger at a time. Zendrum Studio also allows you to select multiple triggers and edit them all at once using either of the following techniques:
To select a range of triggers:
- Click and drag the mouse to create a "selection rectangle". Use this to surround or pass through the desired triggers
To select ALL triggers:
- From the main menu, select
Edit -> Select All - or press either Cmd+A or Ctrl+A
To select a variety of triggers:
- Hold down the Shift key as you click triggers with the mouse to add/remove triggers from the selected set
Right-clicking a trigger will select all other triggers that have the same note number and channel.
Swapping Triggers
You can quickly swap the content of two triggers by simply 'dragging' one onto another.
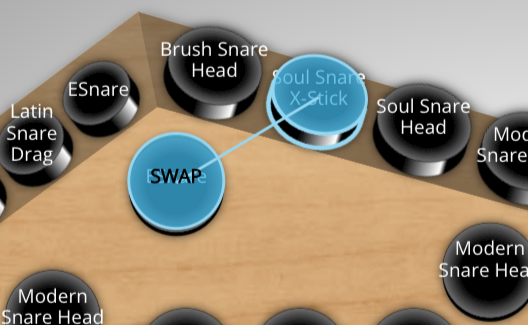
The values that are swapped are:
- Note number(s)
- MIDI Channel
Copying Triggers
Hold down the Alt key while dragging one trigger onto another and a copy will be made instead of a swap. Only the values listed above under 'swapping' are copied.