Editing Mappings
A Mapping tells Zendrum Studio what "name" to display for various MIDI® note numbers (36 = Kick, 38 = Snare, etc.). Zendrum Studio ships with a number of Mappings for most all popular interfaces.
New Mapping files are added to Zendrum Studio via updates whenever new software or hardware sound sources appear on the market. Nevertheless, you might be using a module that currently does not have a Mapping file, or perhaps you just want to modify an existing mapping to suit your tastes. For this you'll want to use Zendrum Studio 's built-in Mapping editor.
To access the Mapping editor, select View -> Mapping Management from the main menu.
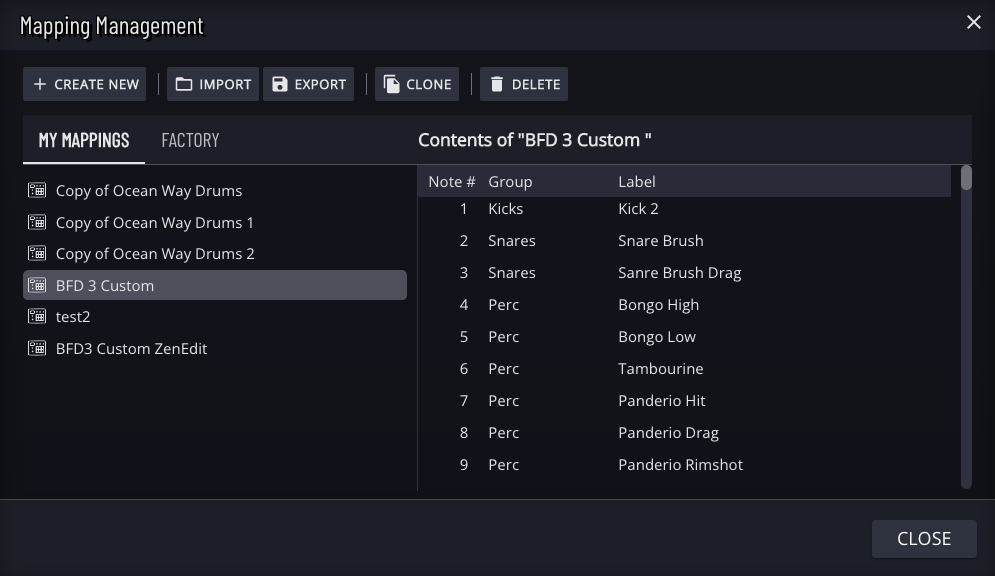
On the left side of the editor is a list of all Mapping files available. These are broken out into two sets -- those that you've created yourself and those that ship with Zendrum Studio and are considered to be 'factory' defaults. The Mappings that ship with Zendrum Studio cannot be renamed or deleted. You can however create a clone of an existing mapping which you are then free to modify.
When you select a Mapping from the list, the right side of the editor will display its contents. This is running list of all MIDI note numbers 1 to 127 and any note names that are assigned to them. You can directly edit this list by selecting a row and then typing in a new name.
Near the top of the window are buttons to Add and Delete Mappings. There is also a button to Clone an existing mapping. Use this button to create a new Mapping based on an existing one. This can be a real time saver when you are creating a new Mapping file that is very similar to an existing one.
There are also buttons to Import and Export mappings. These allow you to create and restore backups of your mappings. This feature is also useful when you want to use your mappings in other software applications such as the Stompblock or ZDS Shifter editors.
Mappings created with the legacy ZenEdit app can also be imported into Zendrum Studio.