Working with Project Files
Creating a Project
The first thing you'll want to do when launching Zendrum Studio for the first time is create a new project.
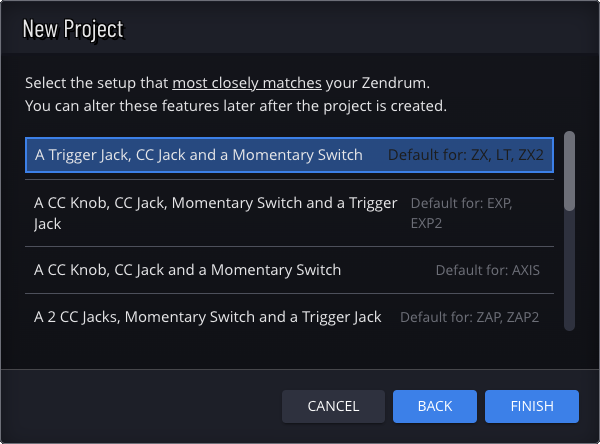
To create a new Project file, select File -> New to launch the configuration wizard. Here you choose the base Zendrum© model that most closely matches yours.
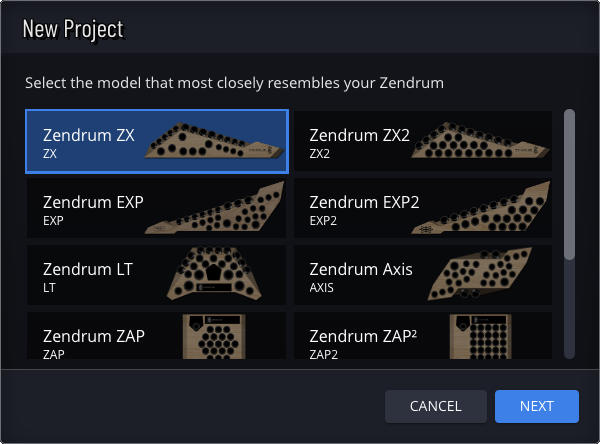
All of the available model types behave similarly. The primary difference between them is the way the Zendrum body is rendered on-screen. If you have a customized Zendrum with triggers in different locations or with different CC controls, then just pick the model that is the closest match. Later, In the next section, we'll talk about how to customize the on-screen representation to better reflect your instrument.
About .zen Files
Zendrum Studio saves project files with a .zen file extension. These files store not only the data that is sent to your Zendrum (the SysEx data) but also all the custom attributes for your project, such as setup names, locations of custom triggers, what sound module you are using, etc.
Note: Your .zen files are not sent to your Zendrum. Instead you transmit the SysEx that your project file represents. See importing and exporting SysEx for more details.
Compatibility with ZenEdit
ZenEdit was the predecessor to Zendrum Studio and it also used .zen files. While Zendrum Studio can open files created by ZenEdit, be aware that any project files saved by Zendrum Studio are not backwards compatible, meaning they cannot be opened by ZenEdit. Please be sure to backup your files if you are moving from ZenEdit to Zendrum Studio.